
One of the identifying themes of the Jerome Gambit (1.e4 e5 2.Nf3 Nc6 3.Bc4 Bc5 4.Bxf7+) is that of an active (some would say, over active) Queen. In the following game, Her Majesty finds herself temporarily stranded on the Queenside, with danger looming. However, an exchange allows her to safely observe the rest of the game and discuss the possibilities with her counterpart.
Eelco_Niermeijer - msapiencia
10 0 blitz, Chess.com, 2020.
1.e4 e5 2.Nf3 Nc6 3.Bc4 Bc5 4.Bxf7+

4...Kxf7 5.Nxe5+ Nxe5 6.Qh5+ Ke6

7.f4 Nc6
There are many ways to return one of the sacrificed pieces. This is one of them. (See "Jerome Gambit: Winning Strategy #1")
8.Qd5+ Ke7 9.Qxc5+ d6 10.Qc3

White's Queen eyes the dark squares and the long diagonal, while having access to the adjacent light squared one, as well. She must be wary, however, after 11.d3, of being locked into the Queenside.
10...Nf6 11.d3 Kf7 12.Qb3+ Ke8 13.O-O

Black has a piece for two pawns, but his King still sits in the middle of the board, while White's is tucked safely away.
13...Nd4 14.Qa4+ Nc6 15.Nc3 Bd7 16.Qb3

Courting danger. An alternative shows both the problem and one solution: 16.d4 Qb8 (planning a pawn advance) 17.d5 Ne7 18.Qd4.
16...b6
Oddly, Black had 16...Nd4 for choice, when 17.Qxb7 a5 (threatening to trap and win the Queen) 18.Nd5 Bc6 19.Qxc7 Bxd5 20.Qxd8+ Kxd8 21.exd5 Nxc2 would lead to a busted pawn structure and 17.Qc4 c5 would require 18.a3 or 18.a4 to give White's Queen escape against a coming ...Be6.
17.Qc4 Qe7 18.Re1 Qe6 19.Qxe6+ Bxe6

Black is happy to get the powerful enemy Queen off of the board, while White is at least pleased to not have her to worry about - besides, he has his eye on the enemy King.
20.e5 dxe5 21.fxe5 Nd5 22.Nxd5 Bxd5 23.c3 Ke7 24.d4 Raf8

White has a protected, passed pawn, and can look forward to extending his pawn chain with b2-b3, c3-c4, d4-d5 and e5-e6.
25.Be3 h6 26.b3 Rf7 27.c4 Be4 28.d5

28...Nxe5
Tempting, but perhaps Black did not have enough time to think this move through; unfortunately for him, White did.
29.Bd4 Kd6 30.Rxe4 Re8 31.Rae1 Rf5
32.g4 Rg5
Black misses 32...Nf3+ 33.Kh1 Nxe2 34.Rxe8 Rf1+ 35.Bg1 Nf3 36.Re6+ Kd7 37.Kg2 Rxg1+ 38.Kxf3 when he could try his luck in a pawn-down Rook and pawns endgame. He eventually finds the Knight fork, but it doesn't save the game.
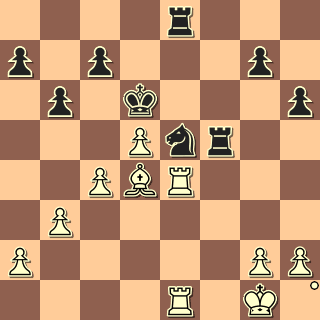
33.h4 Rxg4+ 34.Rxg4 Nf3+ 35.Kf2 Nxe1 36.Rg6+ Black resigned

I suspect that time was a factor in Black's resignation, but he also was facing being a pawn down in an ending where White's Bishop was stronger than his Knight, and where White's King was more active than his own.
modified graphic from Jeff Bucchino, "The Wizard of Draws"
No comments:
Post a Comment